Create and send a document for signature
Upload a PDF, add your signers, place the fields they need to fill in, and send it out for legally binding electronic signatures.

Everything below happens on the eSign tab. This guide covers a reusable document, the templated kind you build once and send again and again. If you only need a single send, see Sending a document just once at the end.
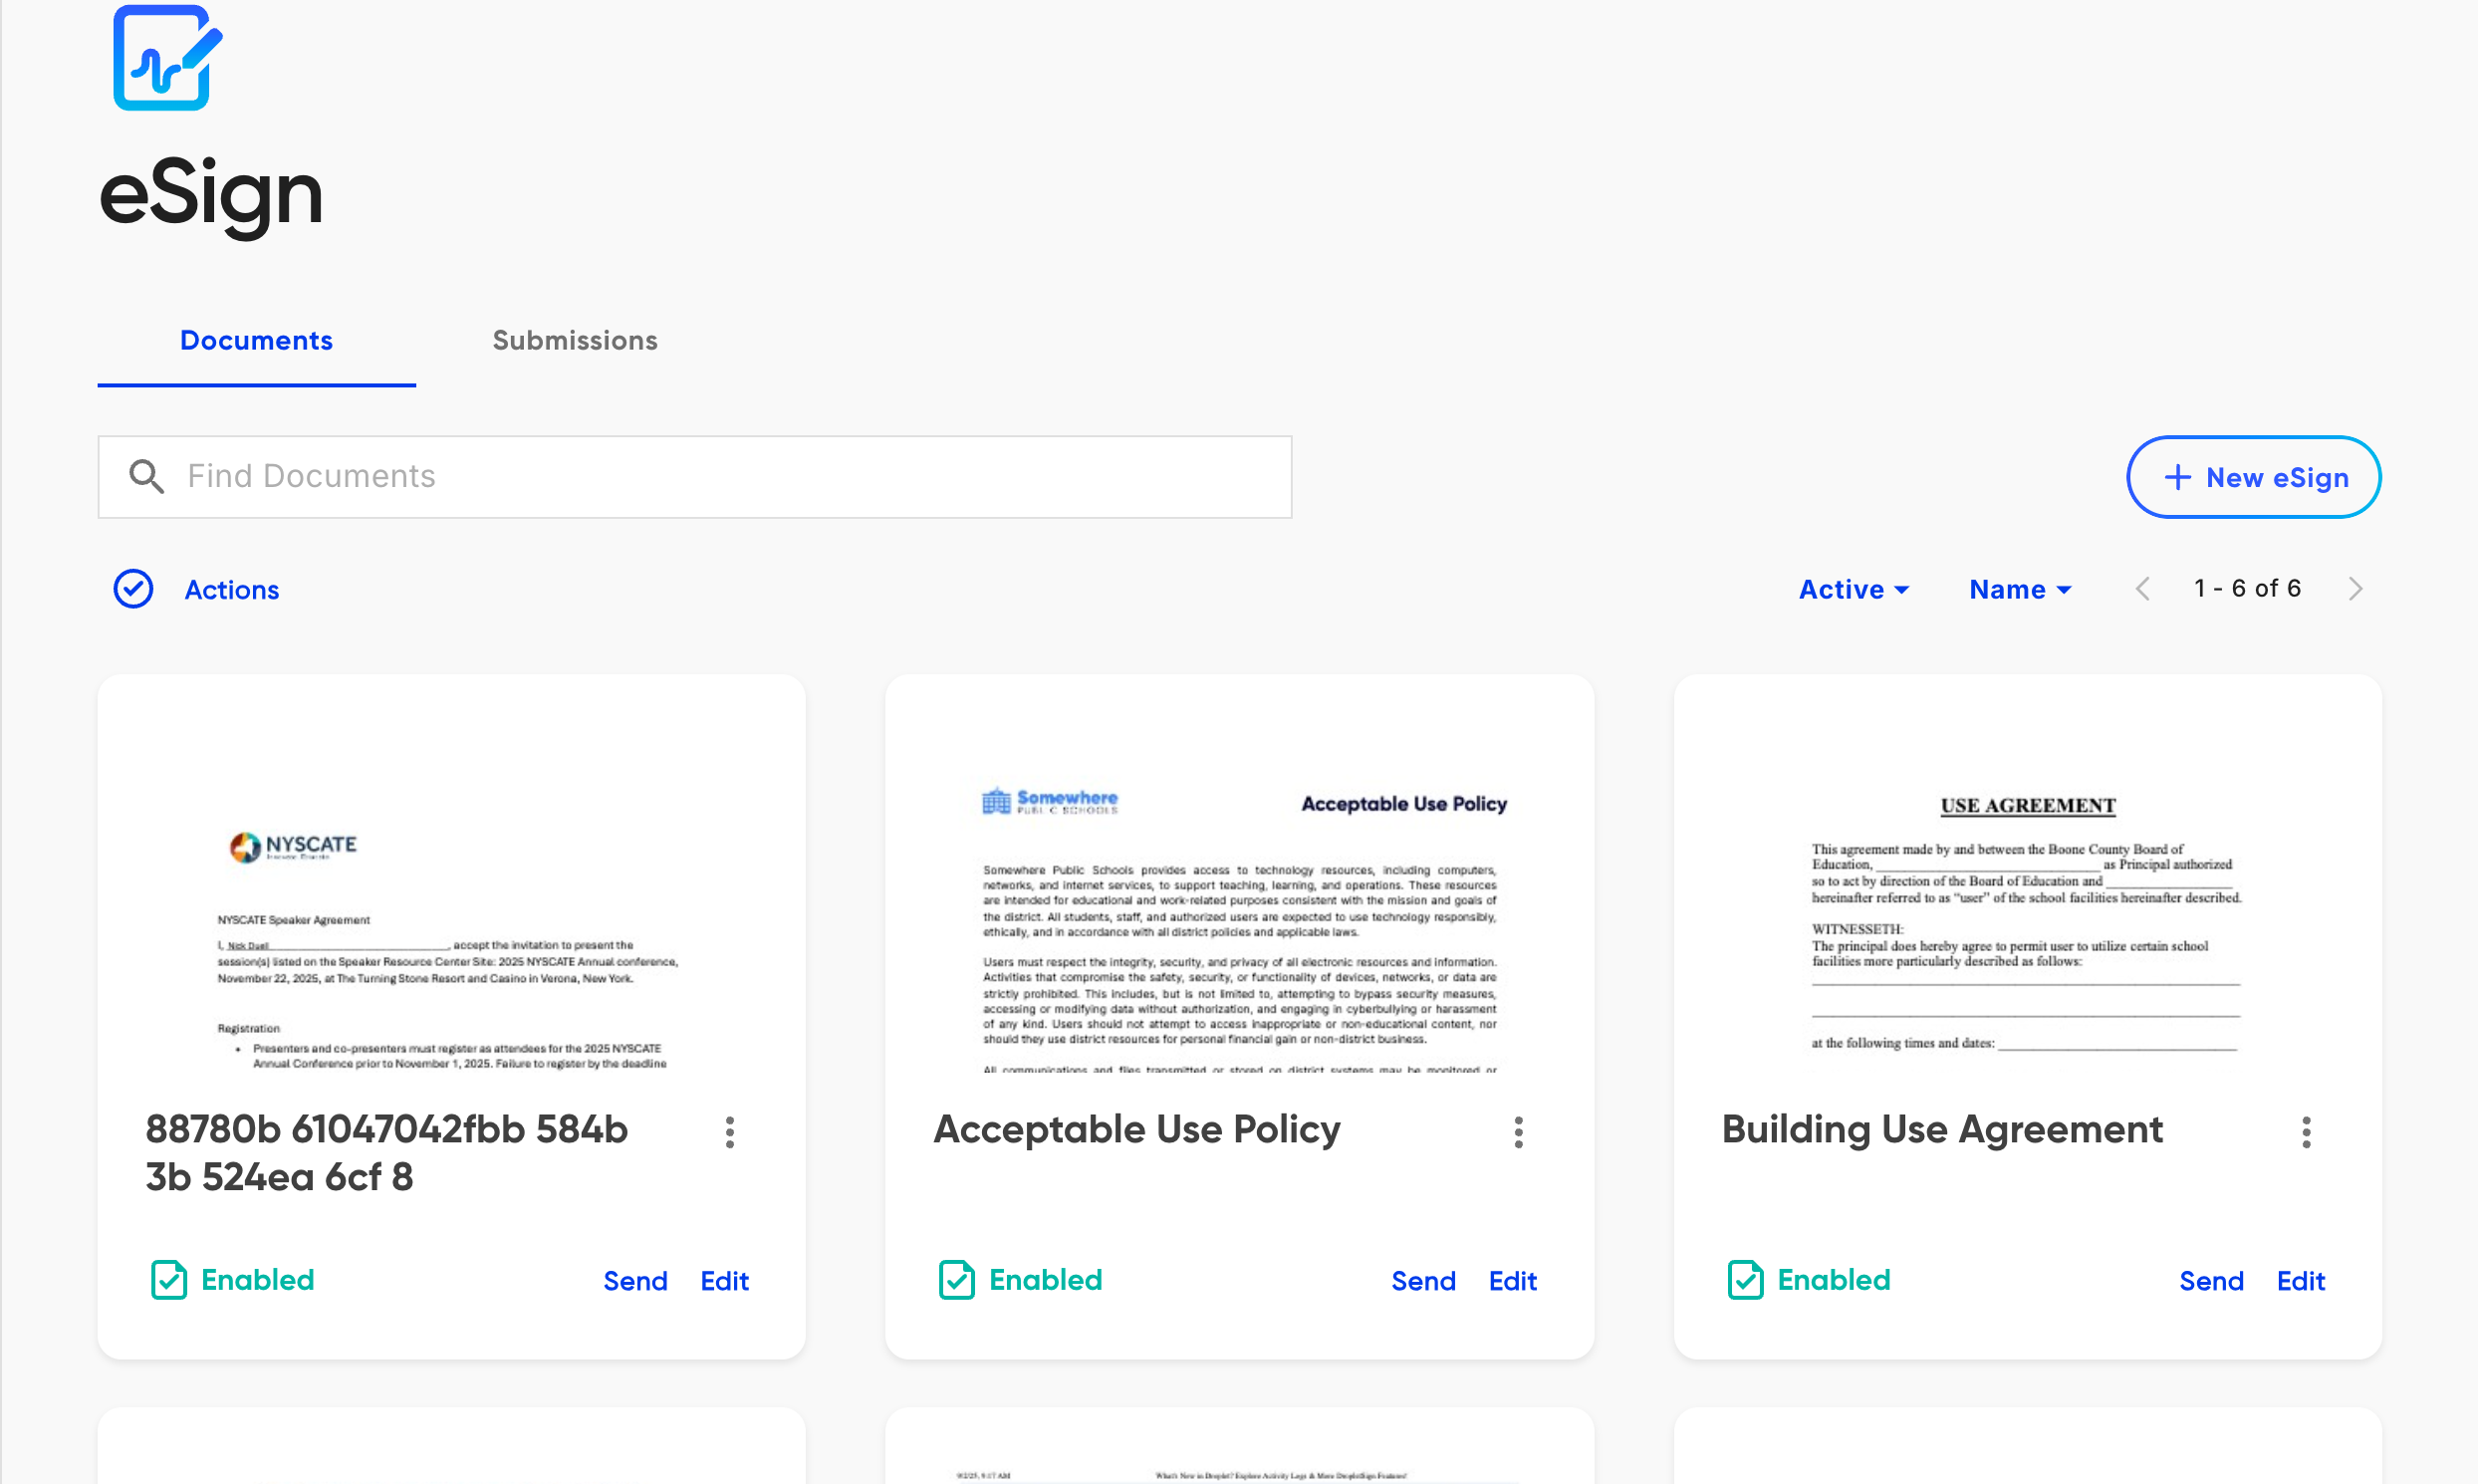
The eSign tab lists your documents. Each one can be sent, edited, or sent in bulk.
Upload a PDF
On the eSign tab, click New eSign. DropletSign asks how you will use it: choose Build reusable document (the other option, Send just once, is covered below). Upload the PDF you want signed and give it a name you will recognize later.
The document opens in the editor, which has three tabs across the top: Assignees, Notifications, and Document. Work left to right.
Add your signers
On the Assignees tab, add a slot for each person who needs to act on the document. Each assignee gets their own color, which is used to color-code the fields you place for them.

Add a slot per signer. The Set assignee order toggle controls whether they sign in sequence or all at once.
Open the dropdown on a slot to choose who that assignee is. You have three options, and the choice you make here is what decides whether this reusable document always goes to the same person or to someone new on each send:
- An existing Droplet user
- Start typing in Search Droplet users and pick someone from your organization. Their name and email are locked in now, so the slot always goes to that same person (handy for a manager or approver who signs every time).
- Someone different each time
- Choose Someone different each time to make the slot a role rather than a fixed person. Give it a label such as "New Employee" or "Parent." You leave the name and email blank and fill them in at send, so the same document can go to a brand-new person on every send. This is what makes a reusable document behave like a true template.
- Not a Droplet account
- Choose Not a Droplet Account for an external signer who has no Droplet login (a vendor, student, new hire, or parent). Enter their name and email directly here.
The Set assignee order toggle at the top right controls the signing sequence:
- Set assignee order: on
- Signers are invited one at a time, in the numbered order shown. The second person is only emailed once the first has finished. Use this for an approval chain (employee, then manager).
- Set assignee order: off
- Everyone is invited at the same time and can sign in any order. Use this when signers do not depend on each other.
Place fields on the document
On the Document tab, choose an assignee from the selector at the top of the field panel, then drag a field onto the page where that person should fill it in. Repeat for every field each signer needs. DropletSign offers signature, initial, date, text, choice fields, and more.
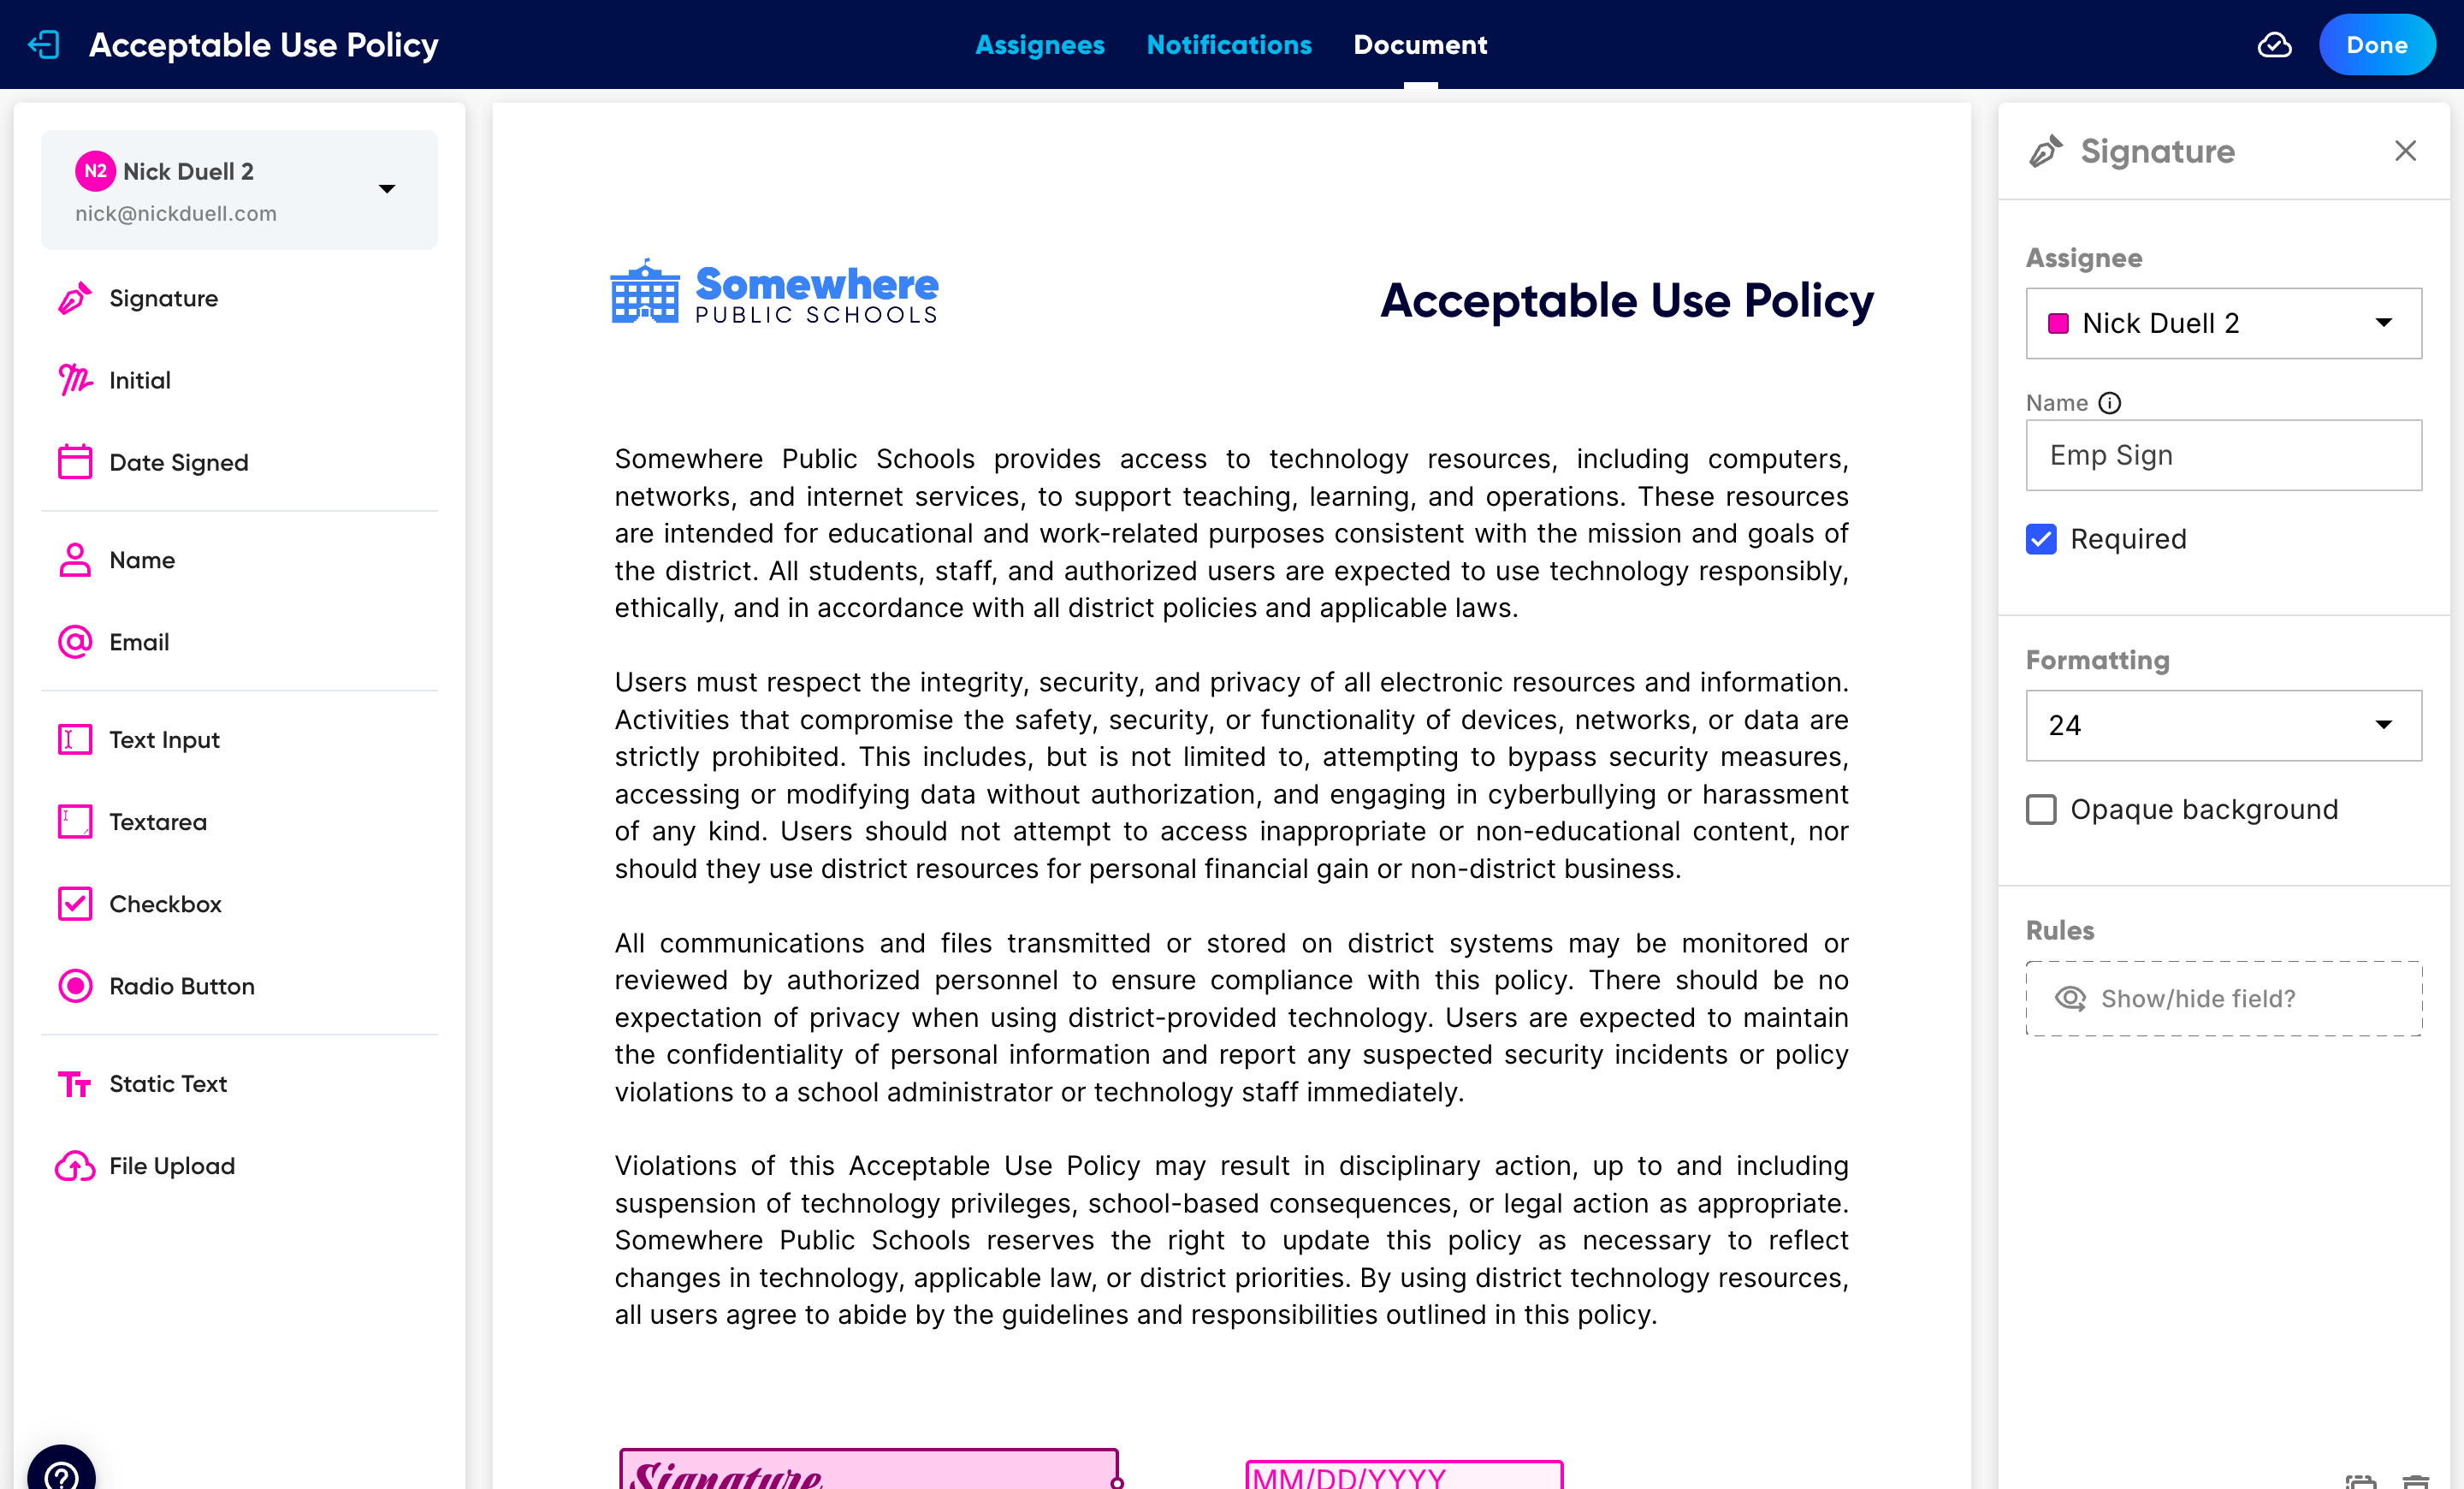
Drag fields from the left palette onto the PDF. Click a placed field to open its settings on the right.
For the full list of field types and how to make a field required, adjust its background, or show it only under certain conditions, see eSign fields and display rules.
Set the emails (optional)
The Notifications tab controls the two emails DropletSign sends: Sent to Every Assignee (the request asking someone to sign) and Sent When Completed (the copy that goes out once everyone has finished). Edit the subject and body, and use Add Dynamic Field to drop in values like the document name. The defaults work well, so you can skip this the first time.
Send it
When the document is ready, return to the eSign tab and click Send on its card. Fill in the name and email for any Someone different each time slots (fixed Droplet users and external signers are already set), give the email a final look, and send.

At send time you fill in the role slots that were left open. Edits to the email here apply to this send only.
After you send
Each signer receives an email link, completes their fields in the browser, and submits. You can follow the document, nudge anyone who has not finished, and download the signed PDF from the Submissions tab. See eSign reminders and tracking.
Sending a document just once
If you will never reuse a document, you do not have to save it as a template. On the eSign tab click New eSign and choose Send just once instead of Build reusable document. Upload your PDF, then add signers, place fields, and send in the same flow described above. The difference is that the document is used for this one send and is not saved to your eSign tab for reuse.
FAQ
Do signers need a Droplet account?
No. Signers complete the document from the secure email link in their browser. They do not need a Droplet login.
Can I reuse a document I have already built?
Yes, as long as you created it as a reusable document. A reusable document stays on the eSign tab, so you can click Send again whenever you need and fill in new recipients each time. (A Send just once document is not saved for reuse.) You can also duplicate a reusable document from its three-dot menu.
What is the difference between an assignee and a recipient?
An assignee is a signer slot on the document (with its own color and fields). The recipient is the actual person who fills it. A slot set to a fixed Droplet user or an external account already has its recipient; a Someone different each time slot leaves the recipient open so you can name a new person on every send.
Can signers fill in fields, not just sign?
Yes. Alongside signatures you can add text, dates, choices, and more, and assign each field to a specific signer. See eSign fields and display rules.