eSign Bulk Send
Send one eSign document to many recipients at once. Fill out a spreadsheet with a row per person, upload it, and DropletSign creates a separate signing request for every row.

Requires DropletSign. eSign is part of DropletSign, a separate product from Droplet Forms. If you do not see an eSign tab in your left navigation, your organization has not added it yet. See What is DropletSign?.
Bulk Send is built for high-volume jobs: an acceptable use policy for every staff member, a consent form for a whole roster, an agreement for a list of vendors. Instead of clicking Send over and over, you provide a spreadsheet and DropletSign sends them all.
Before you start
Bulk Send works from a finished reusable eSign document, so first build one the usual way: click New eSign, choose Build reusable document, then upload the PDF, add your signers, and place the fields. See Create and send a document for signature. Once it is ready, you can bulk-send it as many times as you like. (A Send just once document cannot be bulk sent.)
Open Bulk Send
On the eSign tab, find your document, click its three-dot menu, and choose Bulk Send. A three-step assistant opens: Download Template, Upload Spreadsheet, and Review & Send.
Download and fill the template
In step one, click Download Template. DropletSign generates a spreadsheet tailored to your document, with a column for each recipient and each pre-fillable field.
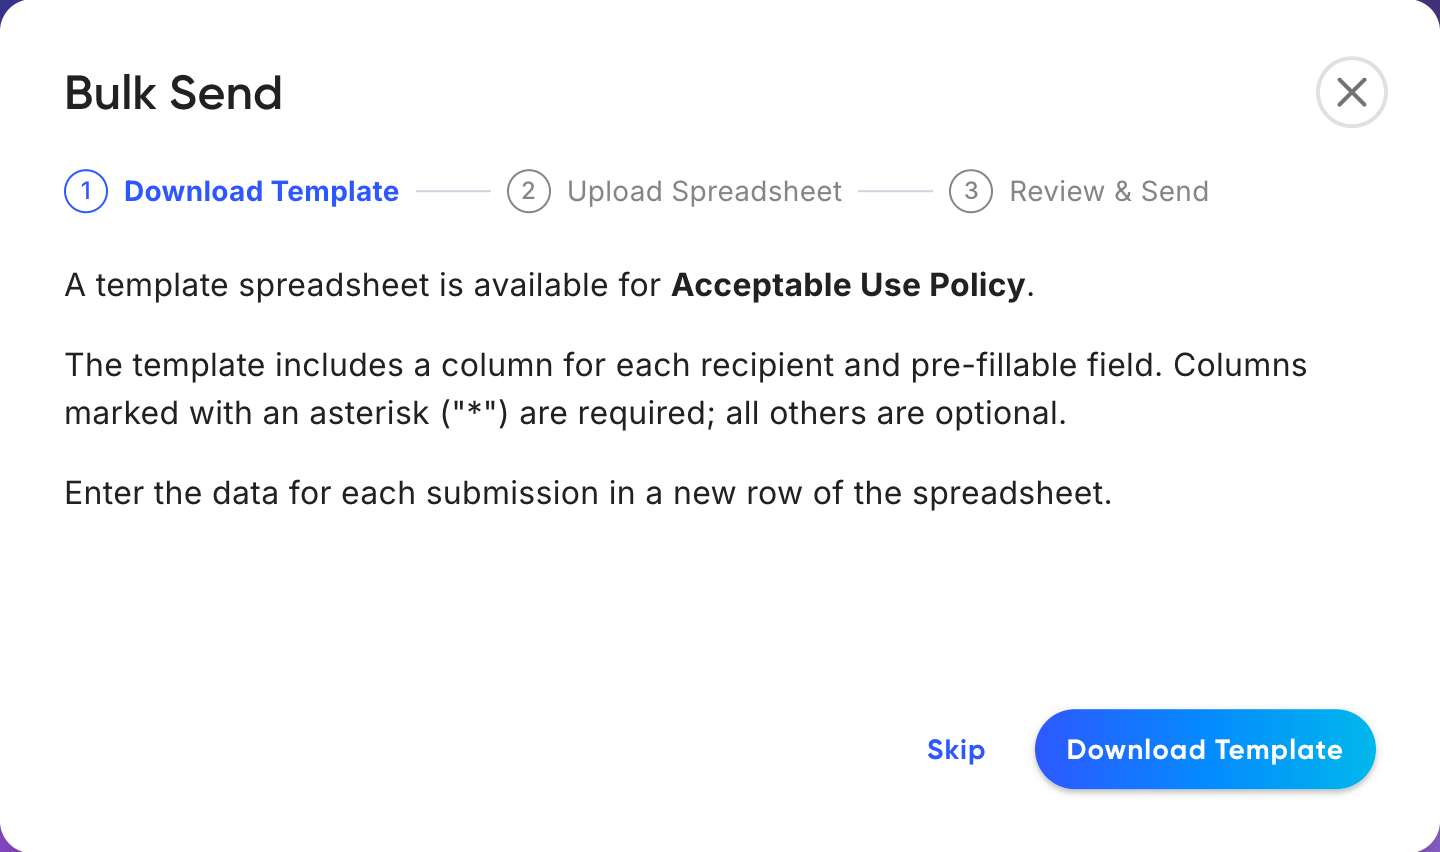
Step one gives you a spreadsheet built from your document's signers and fields.
Then fill it in:
- One row per recipient
- Each row becomes its own signing request, sent to the people named in that row. Add as many rows as you have recipients.
- Required columns are marked with an asterisk
- Columns whose header ends in * are required and must have a value in every row, typically each signer's name and email. Columns without an asterisk are optional pre-fill values.
- Pre-fill values are optional
- If your document has fields you want to pre-populate per recipient, enter them in the matching columns. Leave them blank to let the signer fill them in.
Upload and validate
Back in the assistant, go to Upload Spreadsheet and select your completed file. DropletSign validates every row before anything is sent.
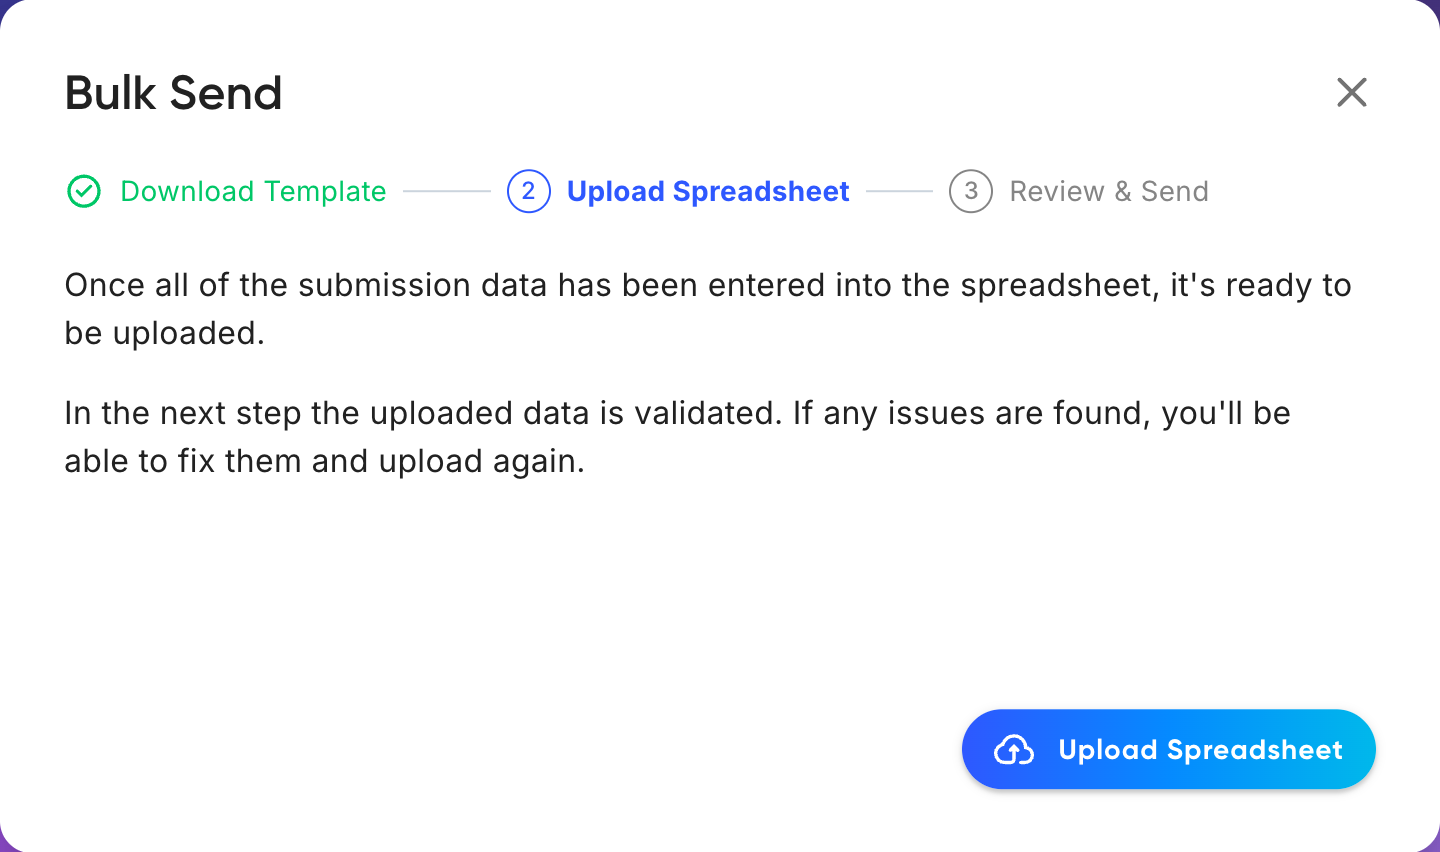
Upload your file. The next step validates it and flags anything that needs fixing before sending.
If a row has a problem (a missing email, a value in the wrong format), the assistant tells you exactly what to fix. Correct the spreadsheet and upload it again. Nothing goes out until validation passes.
Review and send
When everything checks out, the final step (Review & Send) shows how many signing requests will be created. Review the count, then send. DropletSign creates one document per row and emails each recipient their own copy.
In a hurry and already have your spreadsheet? Use Skip on the first step to jump straight to uploading.
After you send
When an eSign Bulk Send completes, Droplet automatically emails the person who started the job with:
A confirmation that the bulk send completed
The total number of recipients processed
Any errors encountered during the run
This notification is sent only for bulk sends started by a user (not API-triggered jobs).
Every row becomes its own entry on the Submissions tab, each one tracked individually. From there you can watch progress, see who has signed, send reminders to anyone still outstanding, and download each signed PDF. See eSign reminders and tracking.
Bulk Send vs Send
Bulk Send is not a different way of building a document, and it is not an alternative to making one. You always build a single eSign document first; Send and Bulk Send are just two ways to deliver that same document.
- Use Send
- For a single document going to one set of signers. You fill in any open role slots directly. See Create and send a document for signature.
- Use Bulk Send
- For the same document going to many recipients at once, each getting their own copy. You provide a spreadsheet (one row per recipient) instead of sending one at a time.
FAQ
Does each recipient get their own document?
Yes. Bulk Send creates a separate signing request for every row, so each recipient receives and signs their own private copy. They never see anyone else's.
Where do I start a bulk send?
On the eSign tab, open the document's three-dot menu and choose Bulk Send. You bulk-send an existing document, so build it first if you have not already.
What happens if a row has an error?
DropletSign validates the spreadsheet before sending and tells you which rows need attention. Fix the file and upload again. Nothing is sent until every row passes validation.
Can I pre-fill fields for each recipient?
Yes. The template includes a column for each pre-fillable field. Enter per-recipient values there, or leave them blank to let signers complete them.
How do I track everything I bulk-sent?
Each row appears as its own row on the Submissions tab, where you can track status, remind signers, and download signed copies just like any other eSign document.