To access the Forms page, you must have permissions that allow you to:
- See every form in your organization, or
- Access a select number of forms you have permission to view.
Here’s a snapshot of what you can do:
Kick off new submissions, including bulk submissions using Bulk Submit
Easily share form links for others to access
Organize and categorize forms using tags
Control form availability based on your needs
Store away forms that are no longer in use
Edit and customize forms for your organization
Update titles, descriptions, and set authentication requirements
Finding Forms
To locate specific forms:
- Search Bar: Use the search bar to find forms with titles that match your keywords.
- Filter Menu: Click on Filters to narrow your search by Tag or Form Status.

Form Menu
 Each form card provides essential details about the form. By clicking the three dots, you can access a menu with additional options tailored to your account’s permission level.
A Edit Form Details
Click this to open a window where you can edit the form’s title, description, and sign-in options.
B Disable
Use this option to temporarily turn off form submissions. Disabling a form is useful when you only want to accept submissions during specific timeframes, such as application periods or reimbursement cycles.
C Copy Link
Select this to copy a shareable link to your clipboard. This link allows users to start a new submission for this form, making it easy to distribute the form to potential respondents.
D View Preview
This option provides a non-functional preview link to show others what the form looks like without allowing submissions. It’s great for gathering feedback or approval before launching a form.
E Bulk Submit
Use this feature to submit multiple submissions at once using a spreadsheet. It’s ideal for efficiently processing large batches of submissions with ease, but comes with a few catches. Discover how Bulk Submit works and learn how to set up your form to take advantage of this powerful feature.
F Archive
Choose this to archive forms that are no longer active or in use. Archiving helps keep your forms organized by removing outdated forms from active view.
G Manage Tags
Manage the tags associated with your form to keep it organized and easily searchable. Tags help categorize your forms based on different criteria or projects.

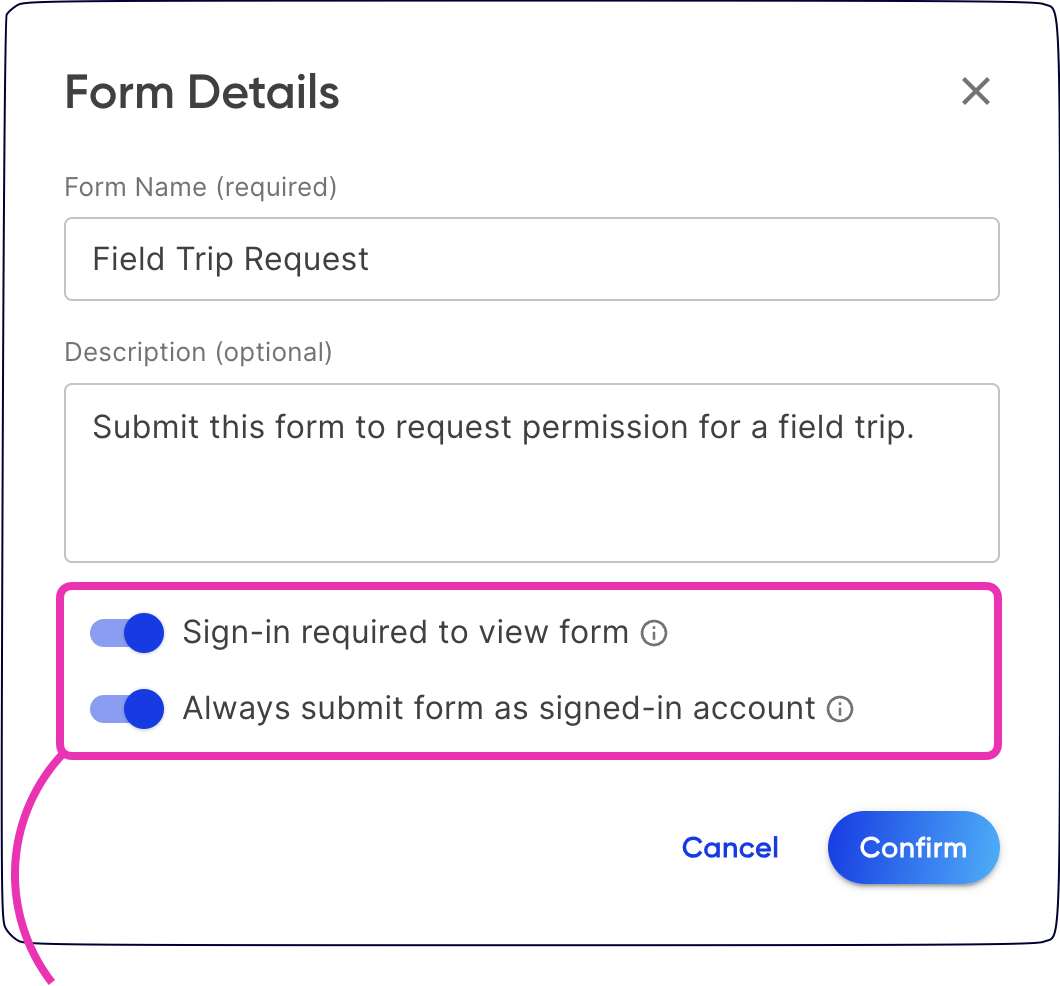
You can control access to a form using these two switches:
- Enabling "Sign-in required to view form" will limit access to those logged into Droplet with your organization’s domain.
- Enabling ‘Always submit form as signed-in account’ automatically fills in the name and email fields for users. This saves time and ensures submissions are made from the authenticated user’s account.

For internal forms, such as mileage reimbursements, it’s best to enable Option 1. For forms that must be submitted by specific users, like policy acknowledgments, enable both Option 1 and Option 2 to ensure submissions come from the correct person. For external forms, like permission slips or registration forms, disable both options to allow anyone to fill them out.
Was this article helpful?
That’s Great!
Thank you for your feedback
Sorry! We couldn't be helpful
Thank you for your feedback
Feedback sent
We appreciate your effort and will try to fix the article