Use Bulk Submit
Create many submissions at once by uploading a spreadsheet, instead of starting the form one entry at a time. It is built for high-volume jobs like teacher contracts, student consent forms, or onboarding a whole roster.

Bulk Submit walks you through three steps in a single assistant: Download Template, Upload Spreadsheet, and Validate & Submit. You fill out one spreadsheet row per submission, upload the file, and Droplet creates a separate submission for every row, each one entering your workflow exactly as if it had been started by hand.
Before you start
Bulk Submit reads the first step of your form (the part a submitter fills out), so that step needs to work as a plain spreadsheet. A form is eligible only when it is published and its first step has:
No Signature fields
No File Upload fields
No fields that pull options from a global dataset
No Tables, if you can avoid them (table data does not map cleanly to a single spreadsheet row)
If the form does not qualify, Bulk Submit does not appear in the form's three-dot menu at all, so there is nothing to open:
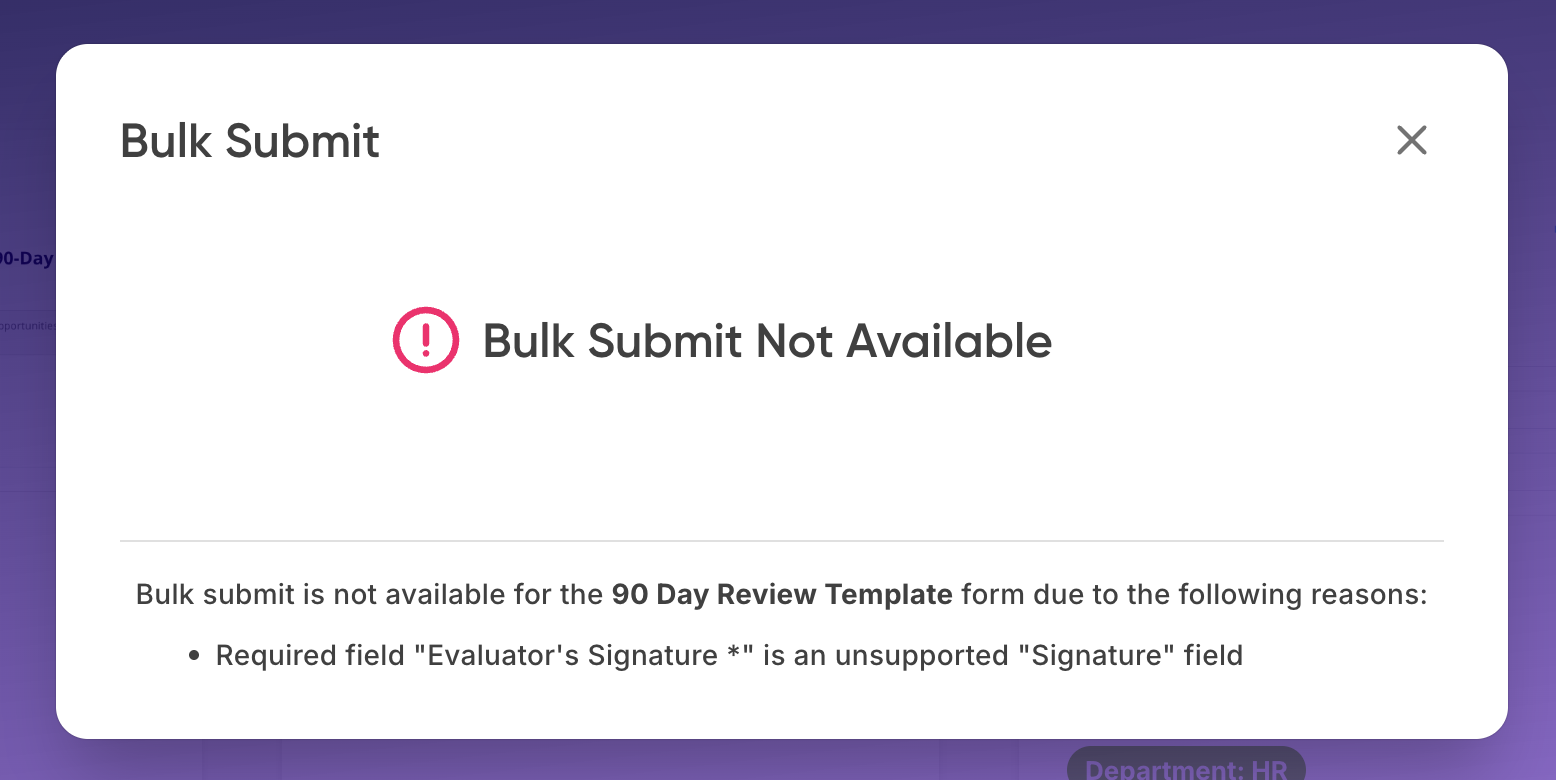
Unpublished or ineligible forms (for example, a form with a required Signature field in its first step) simply do not show the Bulk Submit option.
To make a form eligible, publish it, and move blocking fields (signatures, file uploads) to a later workflow step or remove them from the first step.
Open Bulk Submit
Open the Forms page and find your form. It should show a green Enabled status.
Click the three-dot menu on the form, then choose Bulk Submit. If you do not see Bulk Submit in the menu, the form cannot be bulk submitted yet: check that it is published and that its first step meets the requirements above.
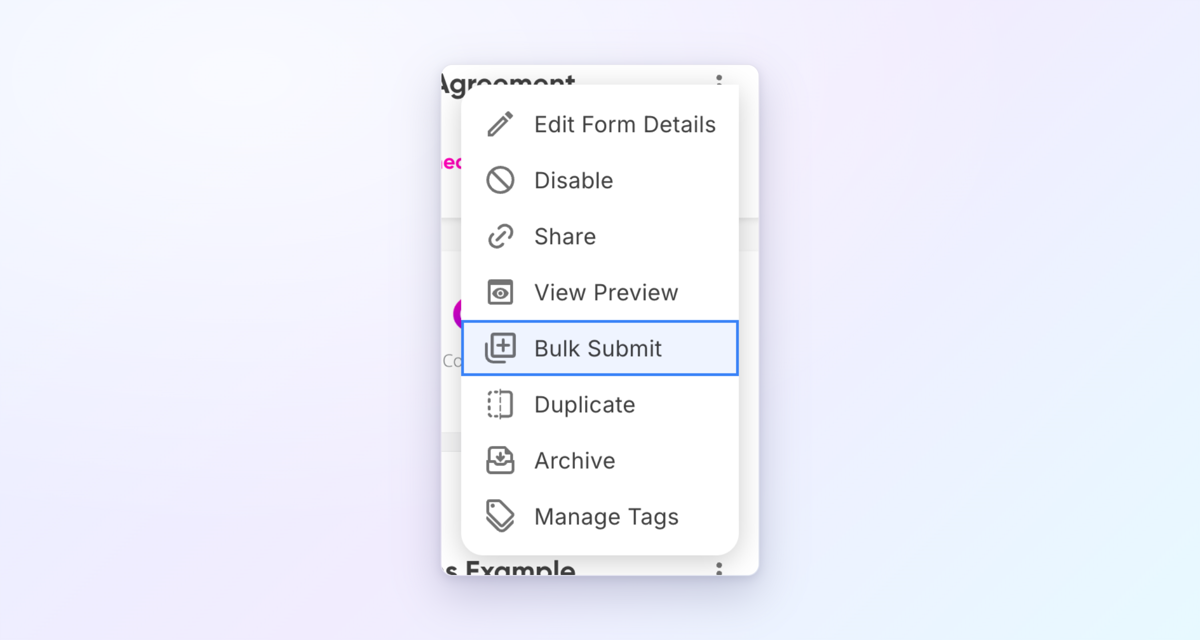
Bulk Submit lives in the three-dot menu on each form card, and it only appears for forms that can actually be bulk submitted.
Download and fill the template
In the assistant, click Download Template. Droplet generates a spreadsheet that mirrors the first step of your form, with one column per field.
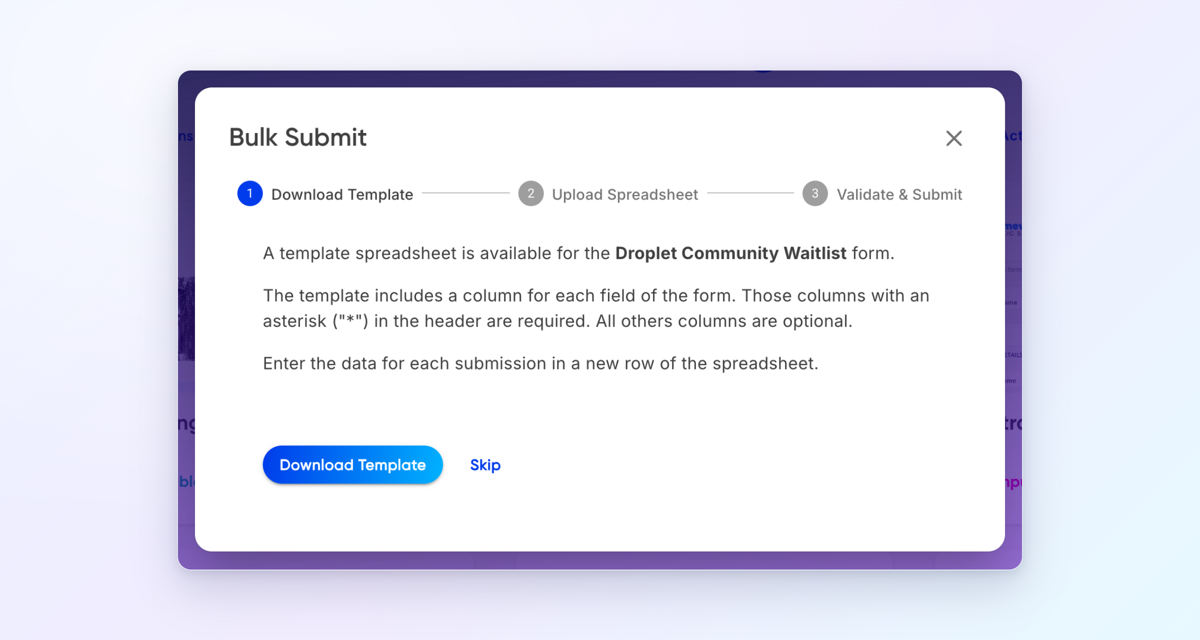
Step 1 of the assistant generates a spreadsheet template built from your form's fields.
Then fill it in:
- One row per submission
- Each row you complete becomes its own submission in Droplet. Add as many rows as you have entries.
- Required columns are marked with an asterisk
- Column headers ending in * are required and must have a value in every row. Columns without an asterisk are optional.
- Hover a header for the rules
- Hover over any column header to see its formatting requirements and, for choice fields, the exact list of valid options.
Dates, times, choices, and formulas
A few field types need their values entered in a specific format so the spreadsheet does not reformat them:
- Dates and times
- Set those cells to Plain Text format first, so your spreadsheet tool does not silently convert them. Use YYYY-MM-DD for a date (for example 2026-09-01), and YYYY-MM-DDTHH:mm for a date with a time (for example 2026-09-01T14:30).
- Dropdowns and single-choice fields
- The value must match one of the field's options exactly. Hover the column header to see the valid options.
- Formulas
- Bulk Submit needs plain values, not formulas. You can use formulas to help generate your data, but before uploading, covert the formula cells to their calculated values (in most spreadsheet tools: copy the cells, then Paste Special -> Values Only). a cell that still contains a formula either won't upload correctly or will submit the formula text itself rather than the result.
Upload and validate
Back in the assistant, go to Upload Spreadsheet and select your completed file.
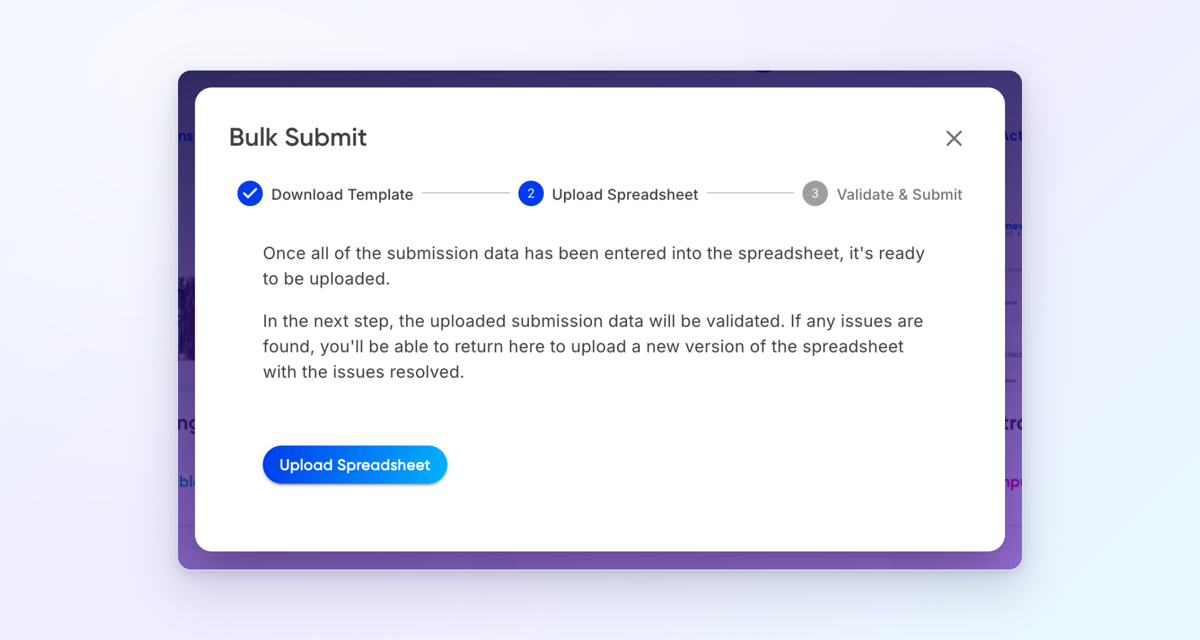
Step 2 uploads your file, and step 3 validates it before anything is submitted.
Droplet validates every row before creating anything:
If there are problems, you can download an error report. It is a copy of your spreadsheet with the problem cells highlighted in red, so you can see exactly what to fix. Correct those cells and upload the file again.
If everything checks out, the assistant confirms how many submissions it found. Review the count, then click Submit All to create them.
Validation catches issues before any submissions are created, so it is safe to upload, read the error report, fix, and re-upload as many times as you need.
After you submit
Every row becomes an individual submission and lands on the All Submissions page, each one entering your workflow on its own. From there they behave exactly like submissions started by hand: they route to approvers, send notifications, and can be acted on individually.
Limits
You can upload up to 500 submissions at a time. For a larger job, split your rows into batches of 500 or fewer and upload them one batch at a time.
Looking for other ways to get a form to people? See Share a form link and Use the Forms page.