Scope submissions by tag
Give people access to only the submissions that belong to their group.
For example, a principal tagged "North High" automatically sees every submission tagged "North High," and nothing else. This is one of the most common org-owner setups, and it stitches together three features.
This setup touches the form's code, so you will usually do it with a form builder or your Implementation Manager. If you only need to scope by who submitted or who is assigned, you may not need tags at all, see Use permission conditions.
How it works
Three pieces work together:
Account tags label each user (for example, a
Schooltag with the valueNorth High).Submission tags label each submission with the same kind of value, applied in the form's code.
A permission condition on a role, "Tag Matches Account Tag," shows a user only the submissions whose tag value matches the value on their own account.
Set those up once and the scoping is automatic: new submissions get tagged as they come in, and each user sees only the ones that match their account.
Step 1: Tag your accounts
Tags in Droplet are name and value pairs (for example, name School, value North High).
Go to Organization and open the Accounts tab.
Open a user's more options menu and choose Manage Tags.
Add the tag (for example
School = North High) and save.
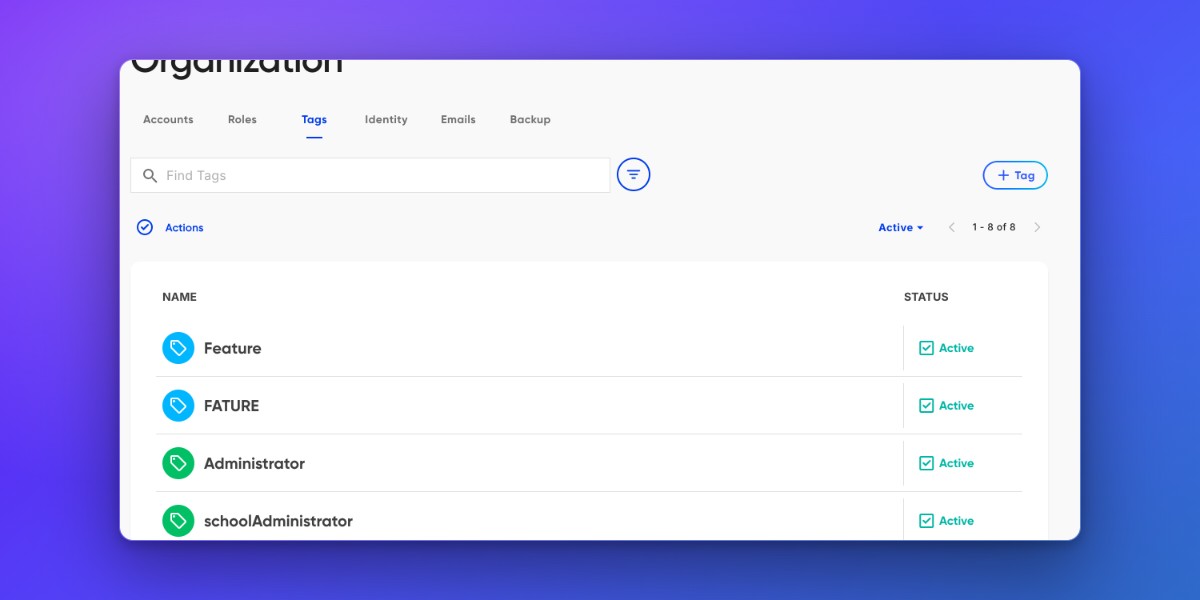
You can manage the set of tag names your organization uses from the Tags tab under Organization. See Roles and access for where Organization settings live.
Step 2: Tag submissions in the form's code
Submissions are tagged in the Tags area of the form's Code Editor, so every submission is labeled based on its own data, no one has to tag submissions by hand.
Submission tagging is code-only, there is no visual control for it, which is why this step usually involves a form builder. However, for step-by-step instructions on submission tags and how the same tags can surface as columns on the Submissions page, see Create custom columns with submission tags.
Each tag includes a column header (the key) paired with an expression that produces the value (most often a component ID). For example, to add a "school" column driven by a schoolLocation dropdown:
{ "School": "schoolLocation" }Now, the form's code tags each submission with the school chosen on the form, so a submission for North High is tagged School = North High.
Step 3: Add the permission condition
Finally, scope the role so users only see matching submissions:
Go to Organization › Roles and edit the role (or create one) for this group.
Add or open the Submissions permission and turn on View.
Click Condition, set the Condition Type to Tag Matches Account Tag, and choose the Tag Name (for example
School).Save the role.
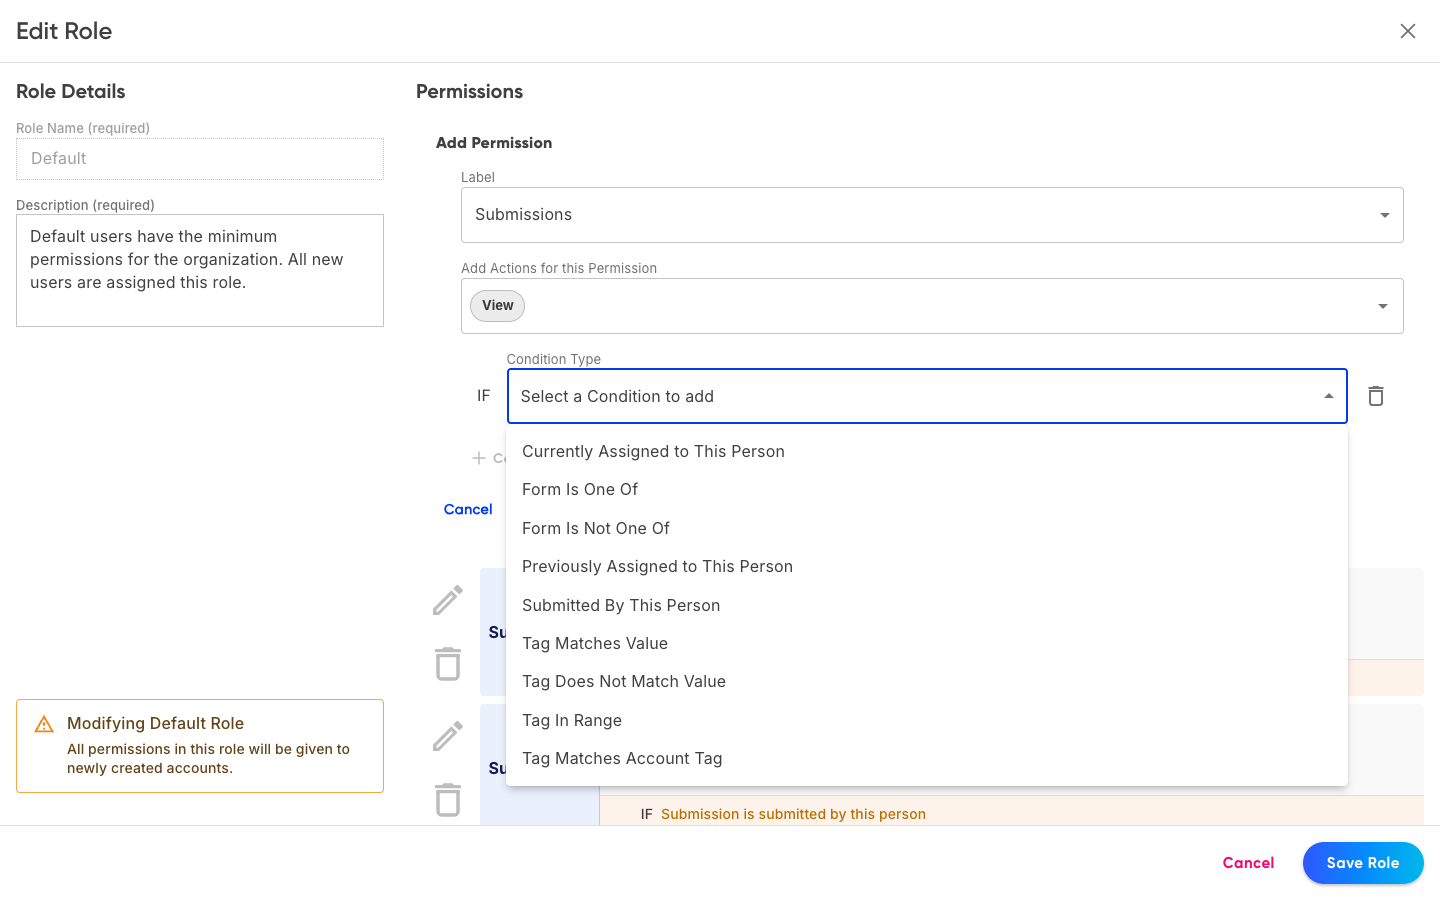
On a role's Submissions permission, "Tag Matches Account Tag" scopes what each user sees to their own account tag.
Now anyone in that role sees only submissions whose School tag matches the School tag on their account. For the full list of conditions and how they combine, see Use permission conditions.
Worked example: a principal sees only their school
Tag the principal's account
School = North High(Step 1).The Field Trip Request form tags each submission with the school selected on it, so North High submissions are tagged
School = North High(Step 2).The principal's role has Submissions › View with the condition Tag Matches Account Tag on
School(Step 3).
Result: the North High principal sees every North High submission and none from other schools, with no manual sorting.
Related tag conditions
"Tag Matches Account Tag" compares against the user's own tag. A few related conditions handle other cases:
Tag Matches Value / Tag Does Not Match Value, match against a fixed value you type in (for example, only submissions tagged
Region = West).Tag In Range, match when a tag's value falls within a range.
All of these live on a role's permissions; see Use permission conditions for details, and Roles and access for how roles and assignments work.