Create and edit a form
Build a new form from scratch, a template, or an imported file - and learn how to edit existing forms.
Create a new form
Navigate to the Forms page.
Click + Form in the top-right corner.
Choose a starting point:
- Start from blank canvas
- Create your form from scratch in the Form Builder.
- Convert to Droplet form
- Upload a PDF or image, and Droplet will automatically extract text and fields to give you a head start. You'll still need to fine-tune the layout and configure the workflow manually.
- Start from template
- Choose from pre-made templates with preconfigured fields, workflows, and notifications. Customize as needed.
- Create an eSign document
- If your organization is a eSign customer, you can create an eSign document from an existing PDF.
- I have a .drplt file
- Upload a droplet form from a colleague or another organization. It brings in both form layouts and workflow settings, saving you time and effort.
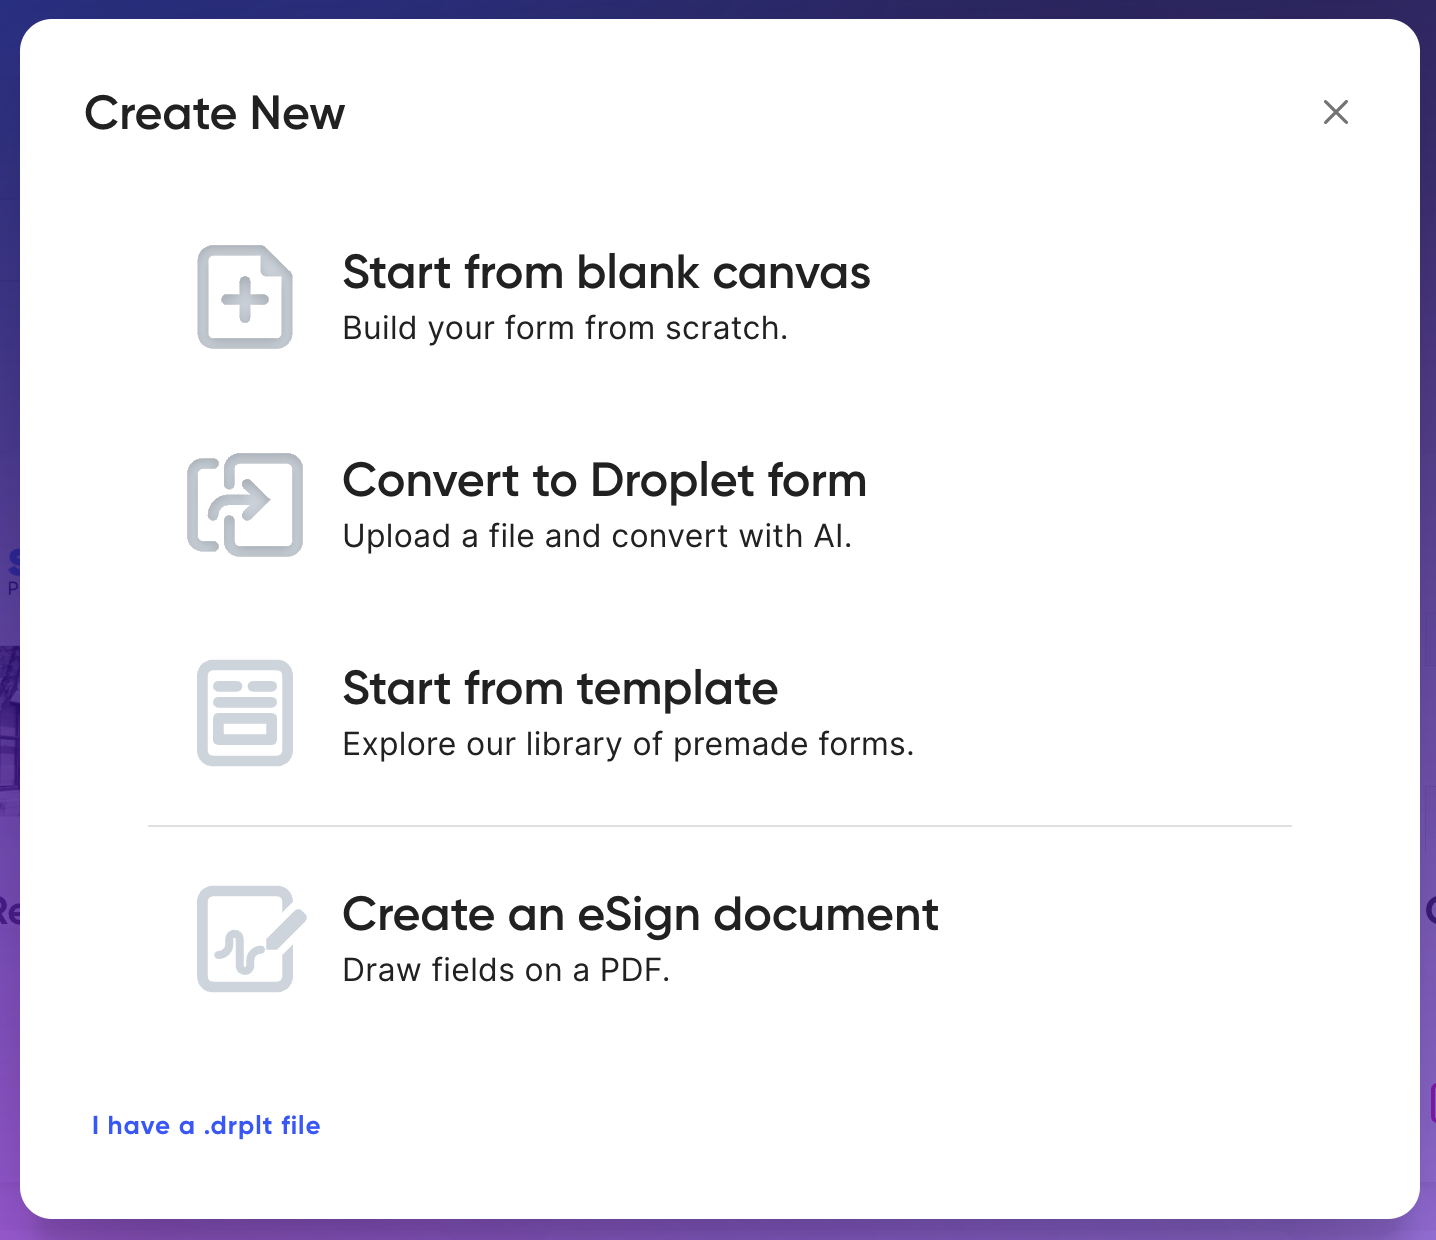
Choose how to start your new form.
Download a .drplt File
To download a .drplt file, go into the form builder for the form you'd like to download. Click the three-dot menu in the upper right corner, select Download .drplt file, and save it to your computer.
Once downloaded, create a new form and choose I have a .drplt file (pictured above).
Share a .drplt File
A .drplt export carries everything your form needs to run, and that often includes staff names and emails tucked into datasets, workflow routing, and notification lists. Sharing a file as-is can hand another district your whole staff directory. A quick pass here catches those details before the file leaves your hands.
Before sharing a .drplt file, be sure to put it through our Share Check. This process finds district-specific details and swaps them for safe placeholders, then lets you download the clean copy or email it right from here.
Navigate the Form Builder
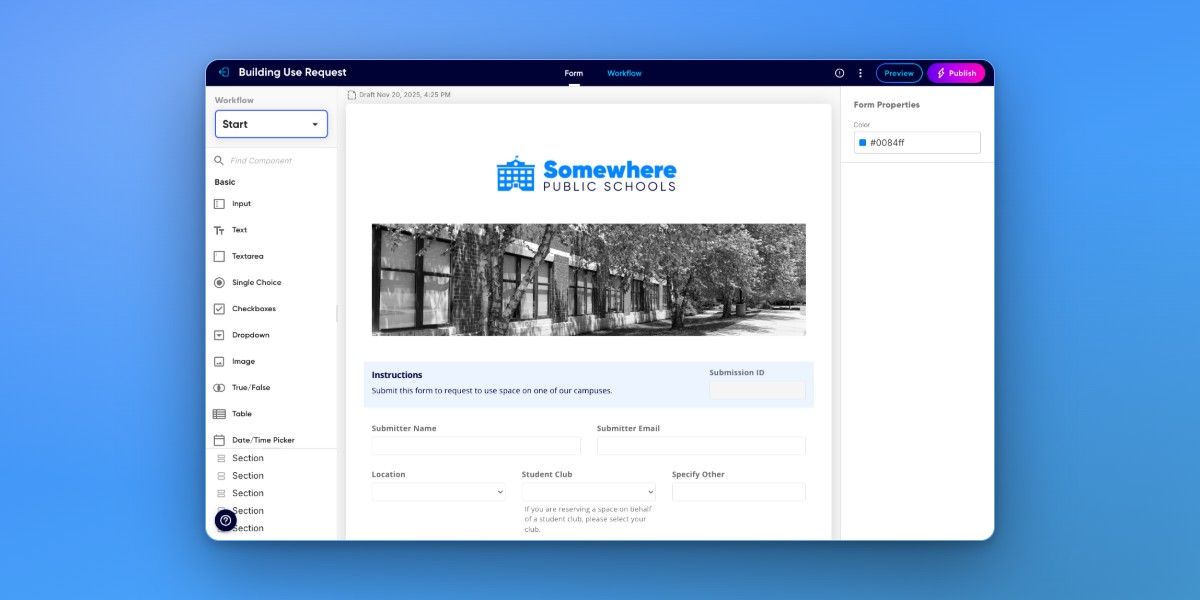
The Form Builder is your main tool for designing form layouts. It includes several key areas:
- Layers
- Forms have two main layers: Form and Workflow.
- Canvas
- The central workspace where you add, move, resize, and delete components.
- Components
- The component library on the left side. Drag and drop elements onto the Canvas to build your form.
- Layout Tree
- A hierarchical list of all components on your Canvas. Useful for rearranging elements and selecting containers like Sections, Groups, and Tiles.
- Properties Panel
- The right-hand panel where you adjust settings for the selected component. For a selected Radio, Dropdown, or Checkboxes element, you can convert it in place to another compatible type here and keep its options and settings. Fields you mark as required display a red asterisk (*) next to their label when someone fills out the form.
- Code Mode
- Toggle in the upper-right corner to switch between the visual editor and the code editor for advanced customizations.
- Visibility
- Choose a workflow step to edit in the upper left-hand corner. Then use the Visibility section in Input Properties to select the correct option for each component.

Required components
Every Droplet form requires two components to function properly:
Submitter Name (component ID: submittedByName) - collects the submitter's name.
Submitter Email (component ID: submittedByEmail) - collects the submitter's email address.
Do not delete these components or change their IDs. Every form starts with them, and removing them will break form submission. You can edit the Label so they appear as something else (i.e. Employee Name instead of Submitter Name).
These two components are required by the form itself. Any field you mark as required in the Properties Panel shows a red asterisk (*) beside its label when people fill out the form, so they know what they have to answer before submitting.
One exception: if a field is marked required and also has a Validation Rule, and that rule passes, the asterisk still appears but the field can be left empty and the form can still be submitted. Keep that in mind when you combine the required toggle with a Validation Rule on the same field.
Edit an existing form
Go to the Forms page and find the form you want to edit.
Click Edit on the form card. If you don't see this option, you may not have the required permissions.
To make changes to a published form, open the version menu by clicking the current version number and select New Draft. This lets you edit without affecting the live form.
Make your changes in the Form Builder using the Visual Editor or Code Editor.

Create a new draft to edit a published form without affecting the live version.
Save your work frequently to avoid losing changes. When you're ready, click Publish in the top-right corner to make your changes live.
Preview and publish
Preview, test, and share your form
There are three ways to preview your form while building:
In the Workflow Editor, click Test to open a full form preview alongside the workflow canvas. Use the Inputs & Values panel at the bottom to debug field values.
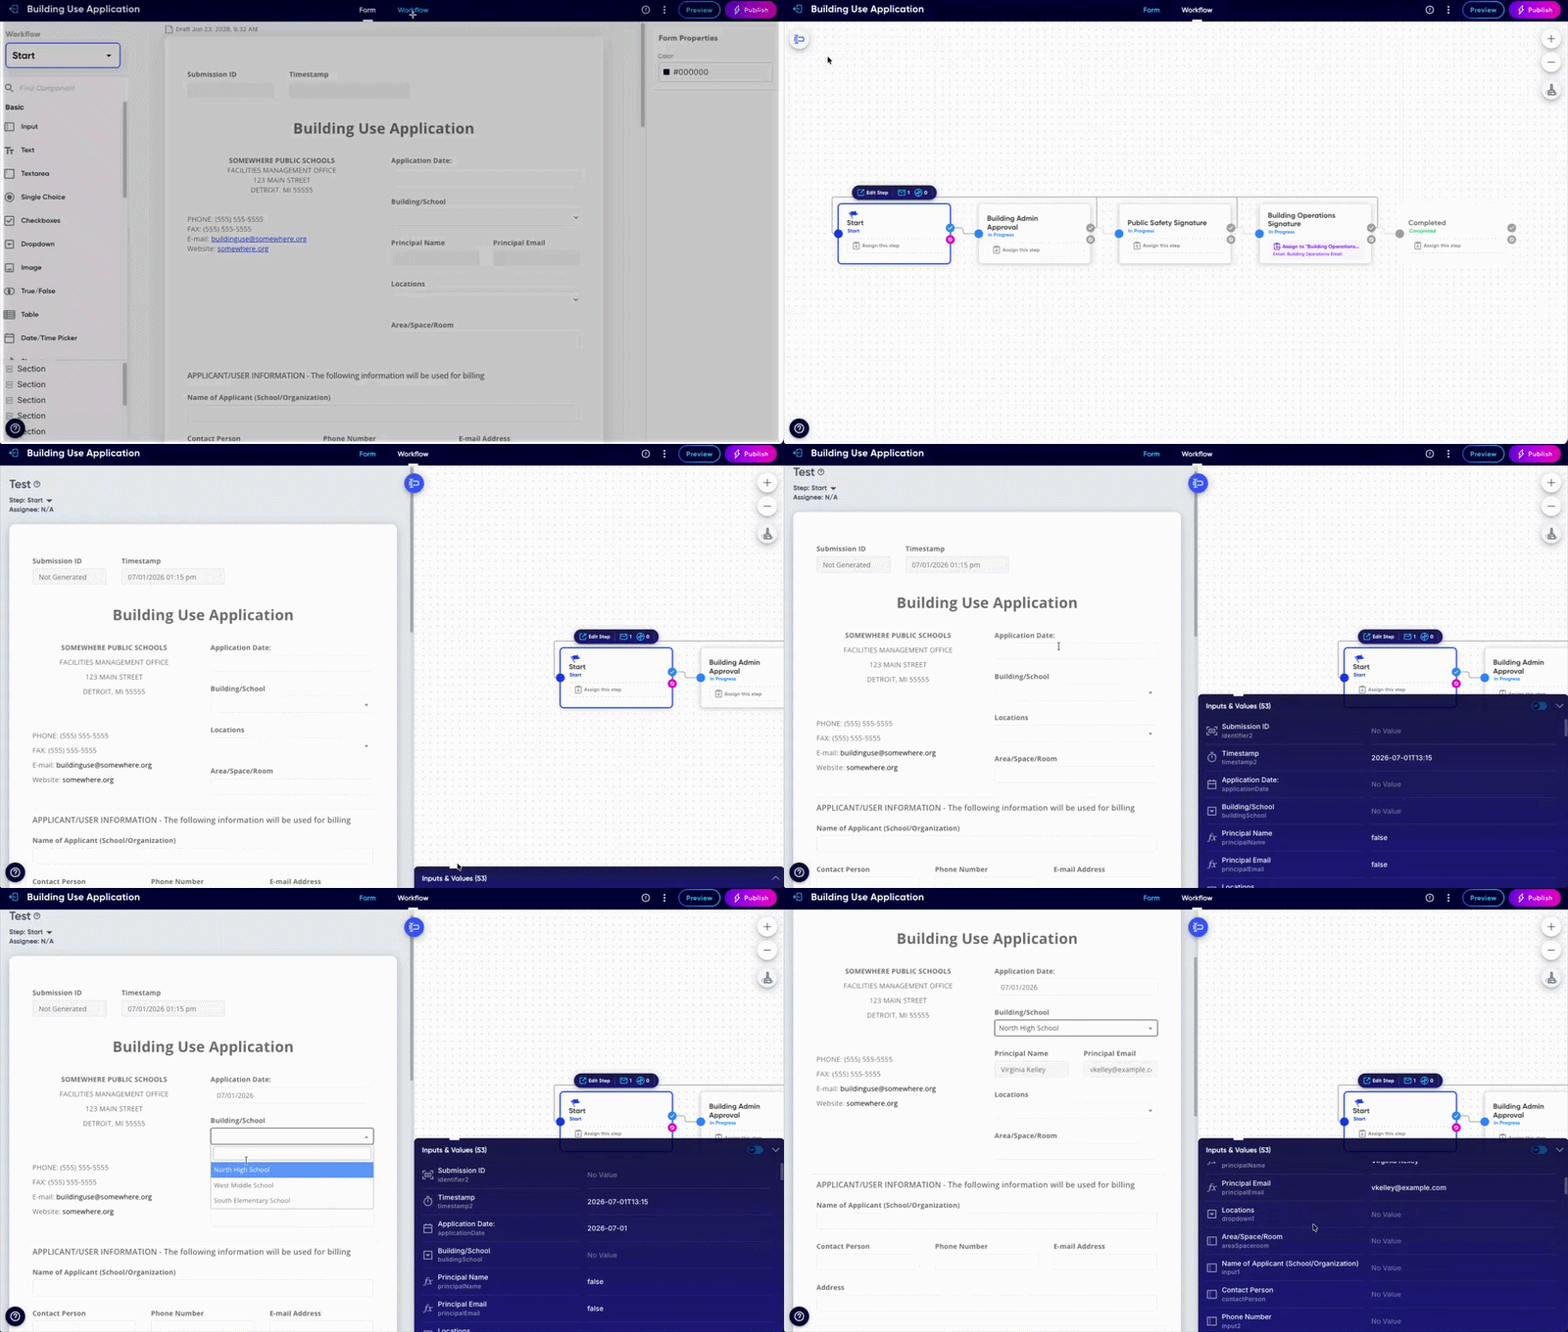
In the Form Editor, click Preview to see a preview. To share this preview, click Share to copy the link - others can interact with the form without generating real submissions.
In the Form Editor, click the three-dot menu and select ** test fields and switch between workflow steps.

Publish your form
Save any final changes.
Click Publish in the top-right corner of the Form Builder.
Your form is now live and accepting submissions.
We recommend running a few test submissions after publishing to make sure everything works as expected, especially for complex workflows.
If you have any errors, the form may not be able to publish. In that case, a pop up will appear that tells you which errors need to be fixed.